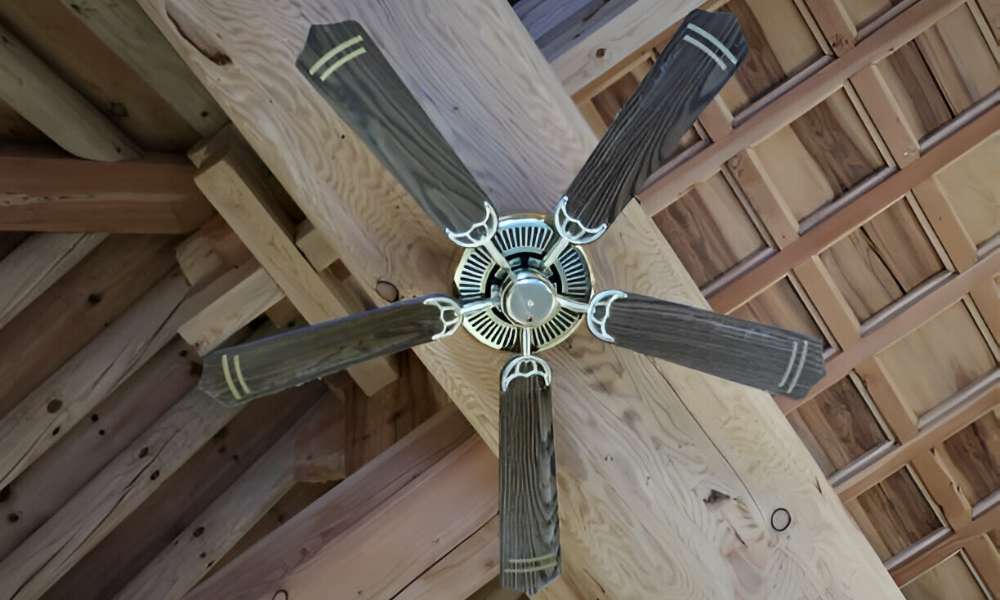
Elevate your outdoor living experience with our comprehensive guide on how to install an outdoor ceiling fan on a pergola. Installing a ceiling fan on your pergola not only adds a touch of elegance to your outdoor space but also provides practical benefits, such as circulating air and keeping you cool during warm weather. In this step-by-step tutorial, we’ll walk you through the process of installation, highlighting key considerations and emphasizing why you have the capability to tackle this project yourself. Discover the joys of enjoying a refreshing breeze under your pergola and make the most of your outdoor sanctuary today.
How Do I Clean An Outdoor Ceiling Fan?
Cleaning an outdoor ceiling fan is a simple process that can help maintain its efficiency and prolong its lifespan. Start by turning off the fan and allowing it to come to a complete stop. Use a step ladder or stool to reach the fan blades, and then use a damp cloth or sponge to wipe down each blade, removing any dust or dirt buildup. For tougher grime, you can use a mild detergent mixed with water to clean the blades thoroughly.
Do Outdoor Ceiling Fans Come With Remote Controls?
Yes, many outdoor ceiling fans are equipped with remote controls for added convenience and ease of use. Remote-controlled outdoor ceiling fans allow users to adjust the fan speed, direction, and lighting settings without having to manually operate the fan. This feature is particularly useful for outdoor spaces where it may be difficult to reach the fan controls easily.
Step-By-Step Installation Process

1. Mounting The Ceiling Fan Bracket
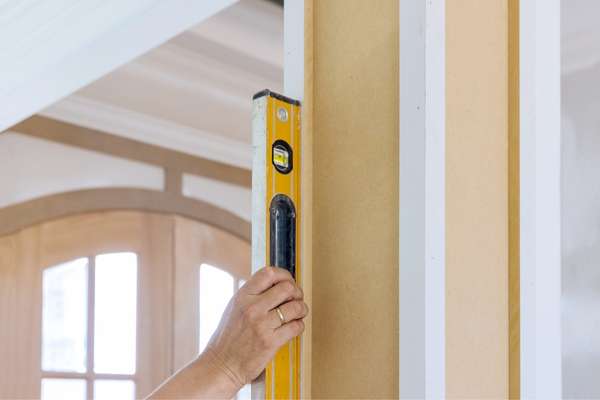
Prior to commencing the installation of your outdoor ceiling fan on a pergola, make certain you have all the necessary tools and equipment readily available. Begin by securely affixing the ceiling fan bracket to the pergola’s ceiling. Select a spot that allows for adequate airflow and clearance from any obstacles. Utilize a stud finder to pinpoint ceiling joists or rafters for optimal reinforcement. Position the bracket accordingly, mark the drilling points, and create pilot holes using a drill equipped with the appropriate bit. Proceed to fasten the bracket with screws provided in the fan kit. Verify that the bracket is level and firmly attached to the pergola structure in order to support the fan’s weight effectively.
2. Wiring And Connecting The Fan
Once the ceiling fan bracket is securely mounted, proceed with wiring and connecting the fan. Turn off the power supply to the pergola at the circuit breaker to avoid any electrical hazards. Carefully follow the manufacturer’s instructions included with the fan for wiring guidance. Typically, outdoor ceiling fans come with pre-attached wires for easy installation. Connect the wires from the fan to the corresponding wires in the electrical box, ensuring proper color matching (usually black to black, white to white, and green to green or bare copper). Use wire nuts to secure the connections and wrap them with electrical tape for added safety. Once the connections are made, carefully tuck the wires into the electrical box and attach the fan canopy to cover the wiring.
3. Securing The Fan Blades
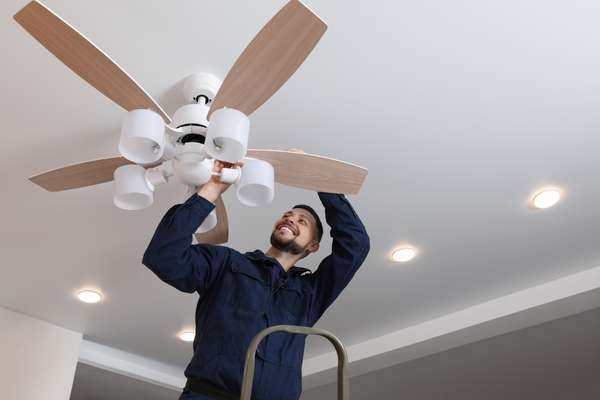
After securely mounting the fan bracket and connecting the wiring, proceed to attach the fan blades to the motor housing. Most outdoor ceiling fans are equipped with pre-assembled blade sets for ease of installation. Lift the fan motor assembly carefully and align it with the bracket on the pergola ceiling. Utilize the screws provided in the fan kit to fasten them through the pre-drilled holes in the blade arms, ensuring a tight connection to the motor housing. It is crucial to evenly space and firmly attach each blade to prevent any wobbling or imbalance during operation. Use a screwdriver or wrench to securely tighten the screws, taking care not to over-tighten as this could potentially cause damage to either the blades or motor components. Once all blades are firmly in place, verify alignment and stability of the fan assembly before activating it.
Lubricating Moving Parts

Before beginning the installation process, it’s essential to ensure that all moving parts of your outdoor ceiling fan are properly lubricated. Lubrication helps to reduce friction, ensuring smooth operation and extending the lifespan of your fan. Begin by consulting the manufacturer’s instructions to identify the specific lubrication requirements for your fan model. Typically, you’ll need to apply lubricant to the motor bearings and any other moving components. Use a high-quality lubricating oil recommended by the manufacturer, and be sure to follow the application instructions carefully. Proper lubrication will contribute to the efficiency and longevity of your outdoor ceiling fan, allowing you to enjoy its benefits for years to come.
Use Appropriate Hardware For Stability

For outdoor pergola lighting, the choice of hardware is crucial for stability and longevity. Opting for high-quality materials such as stainless steel or aluminum fixtures can ensure that your lighting remains secure in various weather conditions. A sturdy mounting system will prevent the fixtures from swaying or falling, contributing to both safety and aesthetics. Additionally, weather-resistant hardware is essential to withstand exposure to elements like rain, wind, and sunlight.
Secure Fan To Bracket

Once you’ve lubricated the moving parts and selected the appropriate hardware, it’s time to secure the ceiling fan to the mounting bracket. Begin by assembling the fan according to the manufacturer’s instructions, taking care to attach the blades, motor housing, and any other components securely. Then, position the fan assembly onto the mounting bracket, aligning the screw holes on the fan with those on the bracket. Use the provided screws or bolts to fasten the fan to the bracket, ensuring that it is firmly attached and level. Take care not to over-tighten the screws, as this could damage the fan or mounting bracket. Once the fan is securely in place, test it to ensure that it operates smoothly and without any wobbling or noise. Properly securing the fan to the bracket is essential for ensuring its stability and preventing accidents or damage during use.
Attach Light Fixture To The Fan

Attaching the light fixture to the fan is an essential step in the installation process. Many outdoor ceiling fans come equipped with built-in light fixtures, providing both illumination and ventilation in one unit. To attach the light fixture, start by carefully following the manufacturer’s instructions. Typically, you will need to remove the fan blades and canopy to access the wiring. Once the wiring is accessible, connect the light fixture wires to the corresponding wires on the fan motor, ensuring a secure connection. After attaching the light fixture, reassemble the fan blades and canopy, making sure everything is properly aligned and secured.
Tighten Any Loose Connections

Tightening any loose connections is crucial to ensure the safe and efficient operation of your outdoor ceiling fan. Before installing the fan, thoroughly inspect all electrical connections to ensure they are secure. If you notice any loose wires or connections, tighten them using a screwdriver or appropriate tool. Loose connections can lead to electrical hazards and reduced performance, so it’s essential to address them before proceeding with the installation. Once all connections are secure, double-check them to ensure everything is in place before powering on the fan.
Store Unused Materials Properly

Properly storing unused materials is an often overlooked but essential aspect of any home improvement project. As you install your outdoor ceiling fan on your pergola, you may encounter leftover screws, wires, or other materials. Instead of leaving them lying around, take the time to properly store them in a safe and organized manner. This not only helps prevent accidents but also ensures that you have everything you need for future maintenance or repairs. Consider investing in storage bins or containers to keep everything neatly organized and easily accessible.
The Final Thought
Install an outdoor ceiling fan on a pergola can greatly enhance the comfort and aesthetics of your outdoor living space. By following the step-by-step instructions outlined in this article, you can successfully complete the installation process with ease. Remember to prioritize safety measures and consult with a professional if needed to ensure proper electrical connections. With the fan in place, you’ll be able to enjoy cool breezes and added ambiance during warm summer days and evenings. Take advantage of this opportunity to elevate your outdoor oasis by installing a ceiling fan on your pergola today.
