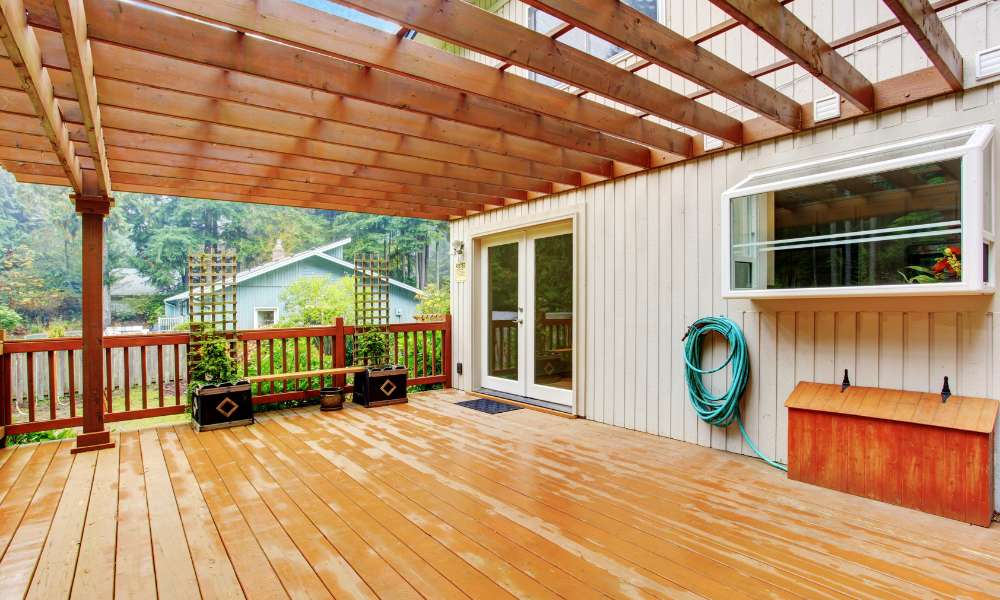
Discover the ultimate guide on how to build a pergola with a roof, and unlock the key to transforming your outdoor space into a haven of comfort and style. Building a pergola with a roof not only adds architectural charm but also provides practical advantages, offering shelter from the sun, rain, and wind, thus extending your outdoor living season. In this comprehensive tutorial, we’ll walk you through the essential steps to construct a sturdy and aesthetically pleasing pergola with a roof, emphasizing the importance of proper planning, quality materials, and attention to detail. Whether you’re a seasoned DIY enthusiast or a novice eager to embark on a fulfilling project, building a pergola with a roof is within your reach, promising endless enjoyment and relaxation in your own backyard retreat.
How Long Does It Take To Build A Pergola With A Roof?
Factors such as weather conditions, availability of tools and equipment, and the skill level of the builder can also impact the timeline. It’s important to carefully plan out the project and allocate enough time for each step to ensure a smooth and efficient construction process. Hiring experienced professionals or seeking guidance from online resources can also help streamline the building process and ensure a high-quality result.
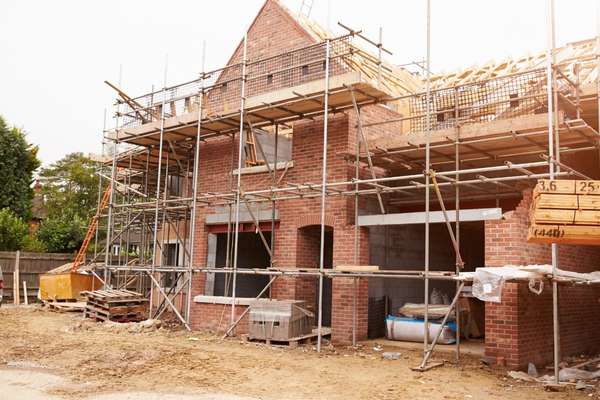
Do I Need A Permit To Build A Pergola With A Roof?
Yes, in most cases, you will need a permit to build a pergola with a roof. The specific requirements for permits can vary depending on your location and local building codes. Pergolas with roofs are considered permanent structures and may require approval from the local building department to ensure they meet safety and zoning regulations.
Preparing The Site
1. Clearing The Area
Before diving into the construction process of your pergola with a roof, it’s crucial to start with a clean slate. Begin by clearing the designated area of any debris, vegetation, or obstacles that may obstruct the construction process. This step not only ensures a smooth building process but also lays the foundation for a stable and secure structure. Use a rake, shovel, and other appropriate tools to remove rocks, roots, and any other debris that may be present. By clearing the area thoroughly, you create a blank canvas ready for the transformation into your dream outdoor retreat.
2. Marking Out The Pergola’s Footprint
Once the site is clear, the next step in building your pergola with a roof is to mark out its footprint. Use stakes, string, or spray paint to outline the dimensions of the pergola, ensuring accuracy and precision. Pay careful attention to the placement and orientation of the pergola, taking into account factors such as sunlight exposure, views, and existing landscaping features. By clearly marking out the footprint of the pergola, you establish a visual guide for the construction process, minimizing errors and ensuring the final structure fits seamlessly into its surroundings.
3. Ensuring Proper Drainage
Proper drainage is crucial for the longevity and stability of your pergola with a roof. Before proceeding with construction, assess the site’s drainage characteristics and make any necessary adjustments to ensure water flows away from the pergola’s foundation. This may involve grading the terrain, installing drainage channels, or incorporating permeable paving materials. By addressing drainage concerns early in the construction process, you can prevent water damage and maintain the structural integrity of your pergola with a roof for years to come.
Setting The Posts
Setting the posts is the foundational step in building a pergola with a roof. Once you’ve chosen the location, mark the positions for the posts using stakes and string. Dig holes for the posts, ensuring they are deep enough to provide stability and support for the structure. Typically, post holes should be at least 2 feet deep, but this may vary depending on the size and design of your pergola. After digging the holes, insert the posts into place, making sure they are level and properly aligned. Use a spirit level to check for accuracy, adjusting the posts as needed. Once the posts are set in place, fill the holes with concrete to secure them firmly in the ground. Allow the concrete to dry completely before proceeding to the next step.
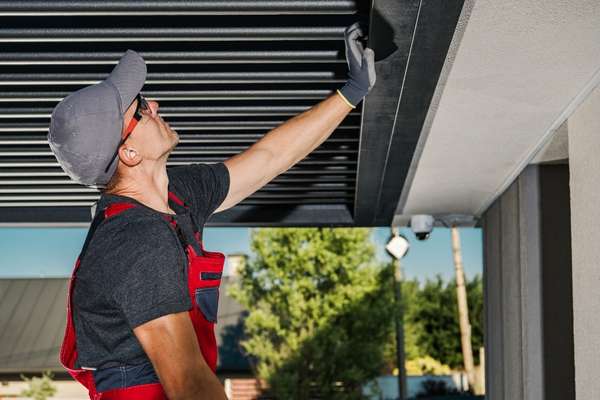
Attaching The Roof
Once the posts are securely set, it’s time to attach the roof structure to your pergola. The type of roof you choose will depend on your aesthetic preferences and functional needs. Common options include a traditional slatted roof, a solid roof made from materials like corrugated metal or polycarbonate panels, or a combination of both for added versatility. Regardless of the design, the roof should be securely attached to the top of the pergola frame using appropriate hardware such as screws or bolts. Take care to ensure that the roof is level and properly aligned with the posts to prevent any structural issues or water drainage problems in the future.
Staining Or Painting The Pergola
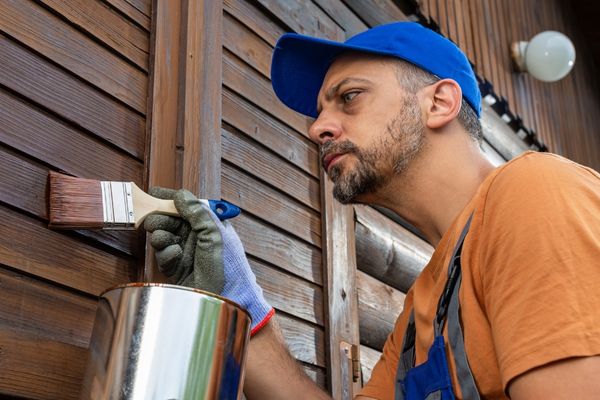
Staining or painting the pergola is not only a cosmetic choice but also a practical one that can help protect the wood from the elements and extend its lifespan. Before applying any stain or paint, make sure the wood is clean and free of dirt, debris, and any previous finishes. If necessary, sand the surface to smooth out any rough spots or imperfections. Choose a high-quality exterior wood stain or paint that is suitable for outdoor use and provides protection against UV rays, moisture, and rot. Apply the stain or paint evenly using a brush, roller, or sprayer, following the manufacturer’s instructions for best results. A well-maintained pergola will not only enhance the beauty of your outdoor space but also stand the test of time against the elements.
Repairing Any Damage Promptly
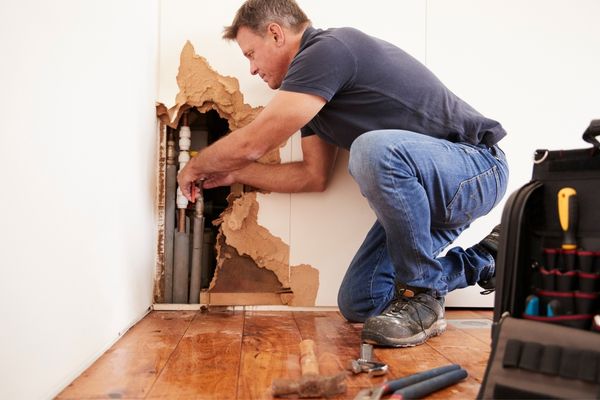
Regular maintenance and timely repairs are essential for keeping your pergola with a roof in top condition. Inspect the structure regularly for any signs of damage such as cracks, rot, or insect infestation, and address any issues promptly to prevent further deterioration. Replace any damaged or rotted wood, tighten loose fasteners, and reapply sealant or paint as needed to protect the wood from moisture and UV damage. Pay special attention to areas where the roof attaches to the pergola frame, as these are common weak points that may require additional reinforcement or repair over time. By staying vigilant and addressing any issues as soon as they arise, you can ensure that your pergola with a roof remains a beautiful and functional addition to your outdoor living space for years to come.
Treating Wood To Prevent Decay
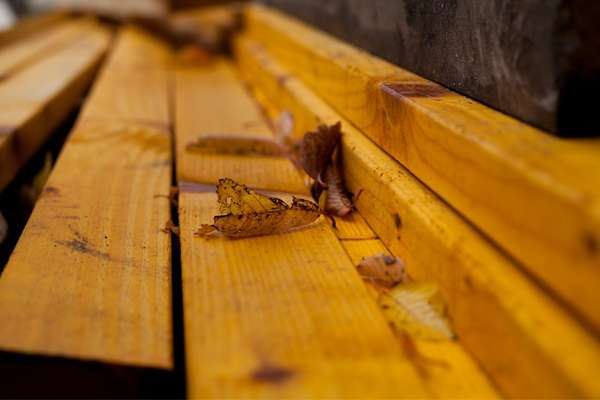
Treating wood to prevent decay is essential when building a pergola on a deck attached to a house. One effective method is using pressure-treated lumber, which is infused with preservatives that protect against rot and insects. Another option is applying a water-repellent sealant to the wood, creating a barrier against moisture and prolonging its lifespan. Additionally, regular maintenance such as inspecting for any signs of decay and promptly addressing them can significantly extend the durability of the wooden structure.
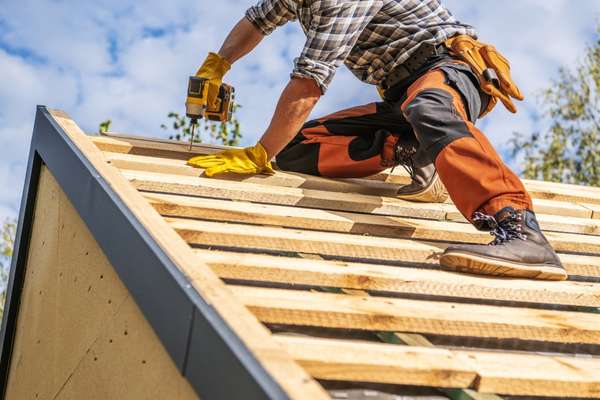
Using Proper Safety Gear
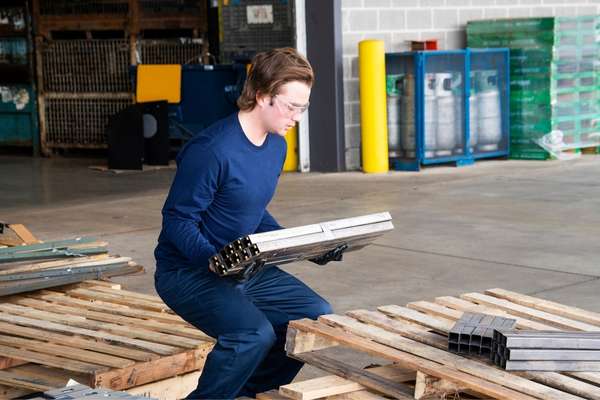
Before starting work on your pergola, ensure you have the necessary safety gear on hand, including protective eyewear, gloves, ear protection, and a dust mask. If you’ll be working at heights or using power tools, consider investing in a sturdy pair of work boots with slip-resistant soles and a hard hat to protect against falls or falling debris. Additionally, be sure to familiarize yourself with the proper operation of any tools or equipment you’ll be using and follow all manufacturer instructions and safety guidelines. By prioritizing safety and using the appropriate gear, you can minimize the risk of accidents and ensure a smooth and successful pergola construction process.
Neglecting Regular Maintenance
Neglecting regular maintenance can compromise the integrity and appearance of your pergola with a roof over time. To ensure that your structure remains in top condition, it’s essential to implement a routine maintenance plan and address any issues promptly. Start by inspecting the pergola regularly for signs of wear, damage, or deterioration, paying close attention to areas that are exposed to the elements. Repair any damage or loose components immediately to prevent further deterioration and maintain structural stability. Additionally, clean the pergola regularly to remove dirt, debris, and mildew buildup, using a mild detergent and a soft brush or sponge. Finally, consider applying a fresh coat of sealant or stain every few years to protect the wood and enhance its appearance. By staying proactive with maintenance, you can preserve the beauty and functionality of your pergola with a roof for years to come.
The Final Thought
To build a pergola with a roof can be a rewarding and enjoyable project that adds beauty and functionality to your outdoor space. By following the steps outlined in this article, you can create a structure that provides shade, protection from the elements, and a stylish focal point for your backyard. Remember to carefully plan and measure before starting construction to ensure a successful outcome. With proper tools, materials, and attention to detail, you can have a stunning pergola with a roof that enhances your outdoor living experience for years to come. Start building your dream pergola today and enjoy the benefits of this versatile and attractive addition to your home.