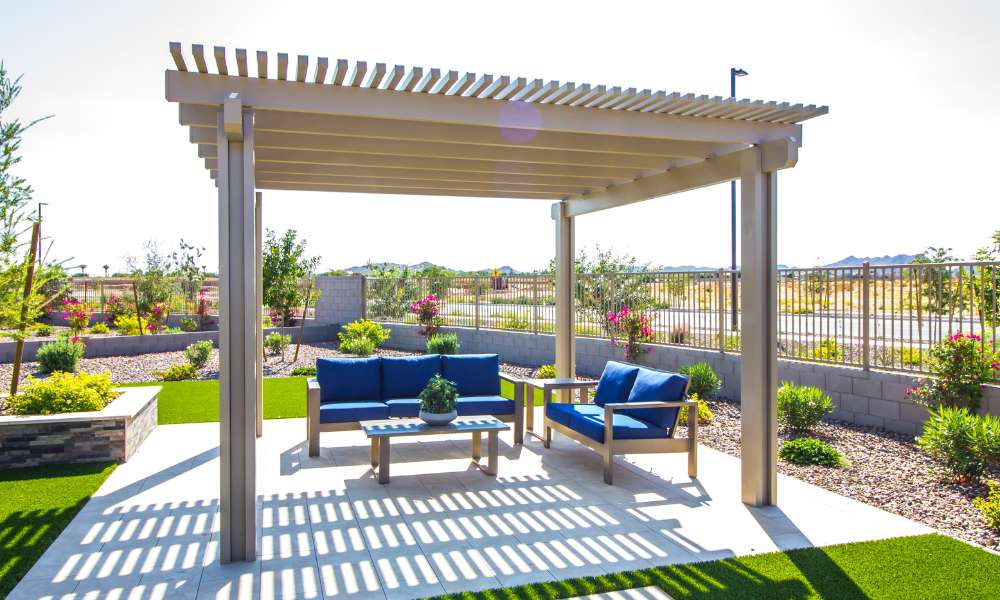
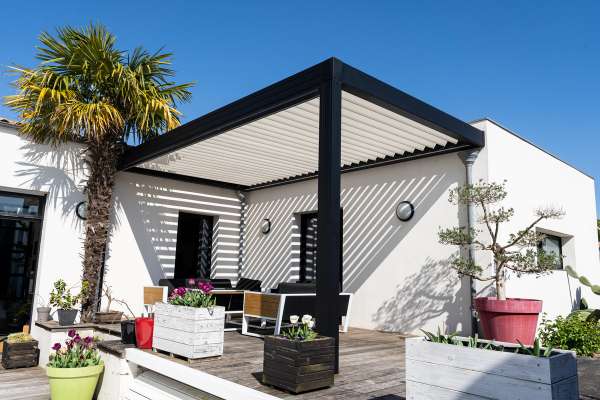
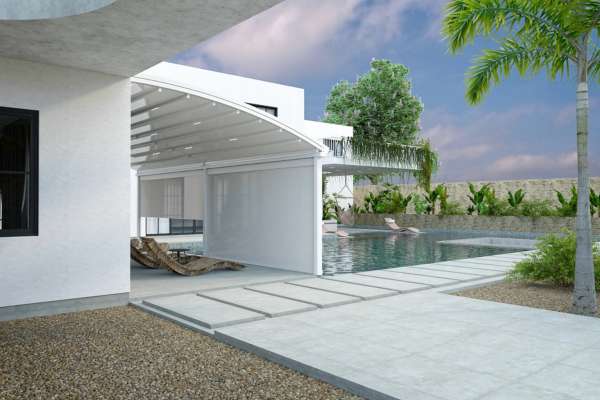
Building a pergola can transform your outdoor space, providing not only shade and structure but also enhancing the overall aesthetics of your garden. In this comprehensive guide on how to build a pergola, we will walk you through each critical step, ensuring you understand the key elements that contribute to a sturdy and stylish design. Whether you’re looking to create a cozy area for outdoor dining or a serene retreat to enjoy nature, constructing a pergola is a rewarding project that can elevate your home’s functionality and curb appeal. With the right tools and a bit of elbow grease, you’ll see how feasible it is to add this charming feature to your landscape, boosting both the usability and value of your property.
What Materials Do I Need To Build A Pergola?
Other materials that may be necessary depending on your design preferences include decorative elements such as lattice panels or cross beams, outdoor wood stain or paint for finishing touches, and hardware such as anchors or braces to reinforce the structure. It is important to carefully plan and measure your project before purchasing materials to ensure you have everything needed for a successful pergola construction.
Do I Need A Permit To Build A Pergola?
Yes, in most cases, you will need a permit to build a pergola. The specific requirements for permits can vary depending on your location and local building codes. Generally, if the pergola is attached to your home or exceeds a certain size, a permit will be required. It’s important to check with your local building department to determine the exact regulations and process for obtaining a permit.
How Long Does It Take To Build A Pergola?
The time it takes to build a pergola can vary depending on several factors such as the size of the pergola, complexity of the design, materials used, and the skill level of the builder. Generally, a simple DIY arbor kit can be assembled in a weekend with two people working on it. This involves setting up the structure, attaching beams and rafters, and securing it in place.
Sketching Out The Design
A key aspect to keep in mind when sketching out the design is the choice of materials. Whether opting for wood, metal, or vinyl, each material brings its unique characteristics that can influence the overall look and feel of the arbor. Additionally, integrating elements like climbing plants or hanging lights into your design sketches can add depth and personalization to the structure, enhancing its beauty and functionality.
Digging Holes For Posts
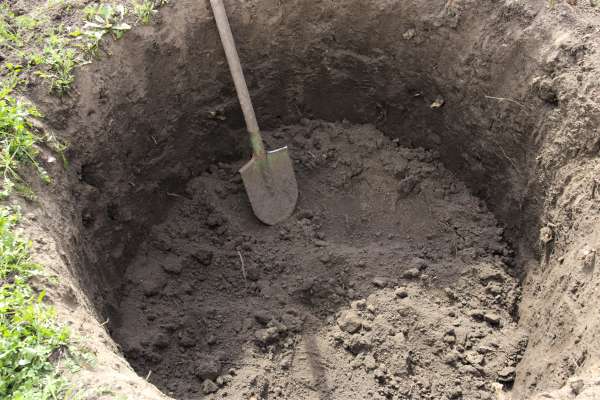
The stability of your arbor relies heavily on how well the posts are secured. Start by marking the locations for the posts according to your design sketch. It’s important to check for any underground utilities before you begin digging. Using a post-hole digger or an auger, dig holes that are about one-third the height of your intended posts, typically around 24 to 36 inches deep, depending on the total height of the pergola and local building codes. Make sure that the holes are wider at the bottom than at the top to provide better stability and support for the posts. To ensure consistency, measure the depth frequently as you dig. This step is crucial for creating a strong foundation for your arbor, as it will help prevent leaning and ensure that the structure can withstand weather conditions and the test of time.
Pouring Concrete Footings

A sturdy pergola starts with a solid foundation. Pouring concrete footings provides the necessary support to ensure your structure is stable and durable. First, mark the locations for the footings according to your pergola design. Dig holes to the recommended depth specified in local building codes, typically below the frost line to prevent shifting during freeze-thaw cycles. Set form tubes into the holes and pour the concrete, ensuring it is level and fills the forms completely. Allow sufficient time for the concrete to cure before proceeding to the next step, which will prevent future structural issues.
Setting The Posts In Place
The foundation of any sturdy pergola starts with securely setting the posts in place. Begin by determining the layout of your arbor and marking the locations for the posts. It’s essential to ensure that each post is placed evenly and accurately to maintain the structure’s symmetry and stability. Dig holes that are at least one-third as deep as your posts are high to provide sufficient anchorage, taking into account any local frost lines that may affect the depth required. After setting each post in its hole, use a mix of concrete to secure them. Ensure each post is perfectly vertical using a level before the concrete sets. Properly setting your posts will provide a robust base for your arbor, essential for its longevity and durability.
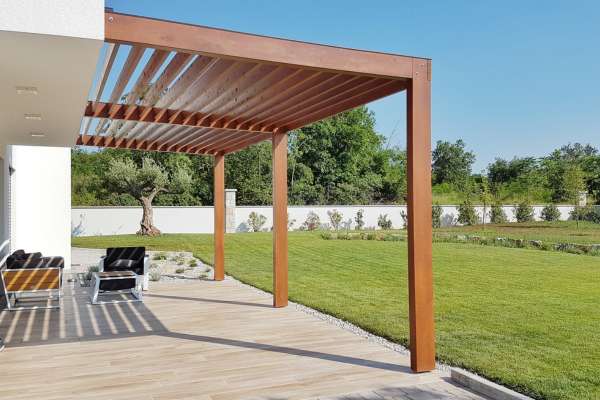
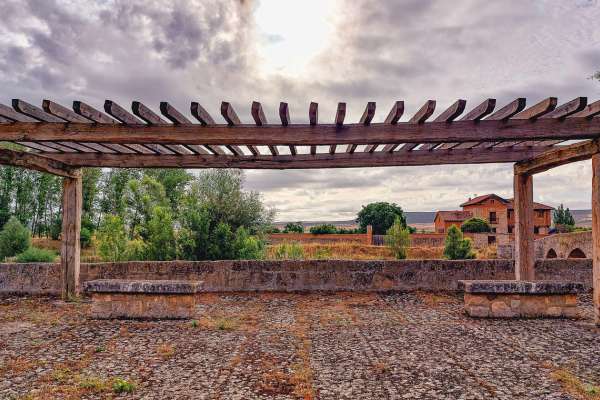
Adding The Cross Beams
Adding the cross beams is a critical step in constructing a sturdy and visually appealing pergola. These horizontal pieces not only provide structural support but also add elegance to the overall design. When positioning the cross beams, ensure they are evenly spaced and level to maintain symmetry and balance. By securing them tightly to the vertical posts with sturdy screws or bolts, you can ensure that your arbor will withstand various weather conditions.
Attaching Beams To Posts

Attaching the beams to the posts is a critical step that influences the overall strength of the pergola. Begin by selecting hardware that is suitable for both the weight of the beams and the environmental conditions, such as stainless steel or galvanized hardware for outdoor use. Position each beam on the predetermined marks and use a carpenter’s square to ensure they are perpendicular to the posts. Secure the beams using the chosen bolts or screws, tightening them firmly to prevent any movement. For added stability, consider using metal brackets or angle braces at the connections, which can help distribute the load and reduce stress on the fasteners.
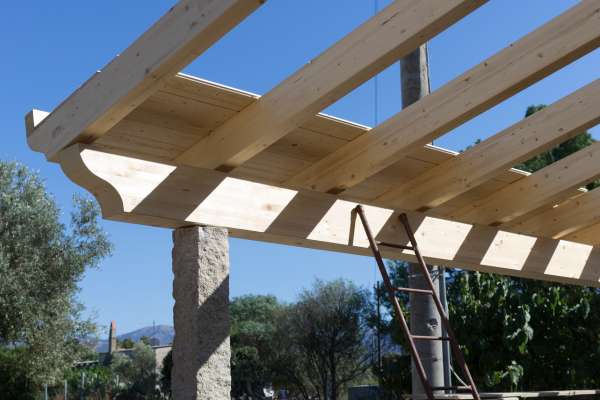
Cutting Cross Beams
A pivotal step in how to build a pergola is preparing and cutting the cross beams, which will form a significant part of the structure’s framework. Start by selecting high-quality timber or your preferred material that fits the aesthetic and structural requirements of your project. Measure and mark the length of each beam according to your pergola’s design specifications. When cutting, use a reliable, sharp saw to ensure clean, straight cuts. This precision will aid in the stability of the arbor and the uniformity of its appearance. Ensure each beam is cut to precisely the same length, which is critical for the symmetrical assembly of your arbor.
Sanding Any Rough Edges
After cutting the beams and posts for your pergola, it’s important to sand any rough edges. This step is not just about aesthetics but also safety. Sanding prevents splinters and ensures that the wood is smooth, enhancing the overall feel and quality of your pergola. Use a medium-grit sandpaper and work your way to a fine-grit for a polished finish. Pay special attention to the ends of the cross beams and any areas that will be frequently touched.
Adding Lattice Panels

Adding lattice panels is a fantastic way to give your pergola extra flair and functionality, helping in how to build a pergola that stands out. Lattice can provide more shade and support for climbing plants, turning the pergola into a green haven. Attach the lattice panels to the sides of the arbor using screws and brackets for secure fitting. Ensure the lattice is properly aligned and evenly spaced for the best visual effect and performance.
Checking For Potential Hazards
A thorough inspection of the ground where the pergola will be installed is also vital. Make sure there are no hidden obstacles such as rocks or tree stumps that could cause accidents or structural issues down the line. By taking these precautions and actively looking for potential hazards before beginning construction, you can ensure a safe and successful building process for your arbor project.
Anchoring The Posts Securely
Regular maintenance and inspection of your post anchors is essential to ensure they remain secure over time. Checking for any signs of rust, corrosion, or loosening connections can help prevent accidents and extend the lifespan of your backyard barbeque area. By taking these proactive measures, you can enjoy a safe and sturdy outdoor space for all your grilling adventures.
The Final Thought
Building a pergola is a rewarding project that can enhance the beauty and functionality of your outdoor space. By carefully planning and following the steps outlined in this guide, you can create a structure that not only provides shade and style but also adds value to your home. Remember to consider factors such as location, materials, and design before starting construction to ensure a successful outcome. With patience, attention to detail, and proper tools, you can achieve a stunning pergola that will be enjoyed for years to come. Take the first step towards transforming your outdoor living area today by embarking on this fulfilling journey of building your own pergola.