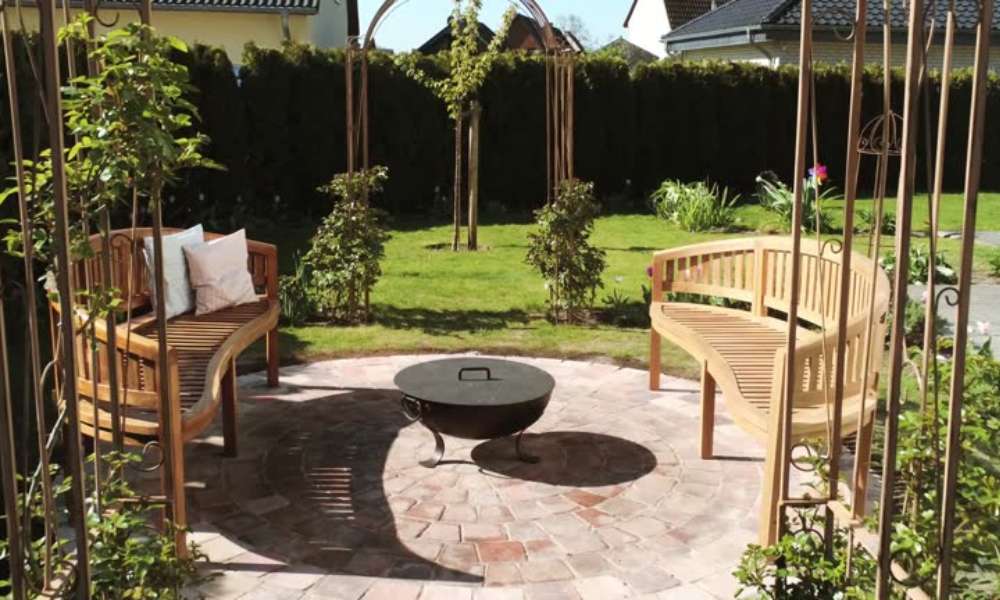
Imagine a cozy, stylish bench nestled in your backyard, offering the perfect spot to relax with a book or gather with friends. If you’ve ever considered enhancing your outdoor space, learning how to build outdoor bench seating is a fantastic way to combine functionality and creativity. This guide will walk you through the process step-by-step, from choosing the perfect materials to assembling a durable design. Whether you’re a DIY novice or an experienced builder, you’ll discover practical tips, essential tools, and design inspiration to create a bench that’s both sturdy and stunning. Let’s get started!
Choosing The Perfect Spot For Your Bench
The location of your bench is paramount to its functionality and aesthetic appeal. Consider areas with natural shade, such as under a tree, or spots that offer a picturesque view. Think about the bench’s purpose whether it’s for lounging, dining, or creating a quiet reading corner. Avoid placing your bench in low-lying areas prone to water pooling. A well-chosen spot will enhance the usability and beauty of your outdoor space.
Understanding The Tools And Materials Needed
Preparation is key to a successful DIY project. Familiarize yourself with the tools and materials required before starting. Having everything on hand will save time and ensure a smooth building process. From saws and drills to wood and screws, each item plays a vital role in bringing your vision to life.
Step-by-Step Guide To Building Your Bench
Cutting The Wood To The Right Dimensions
Accurate measurements are the backbone of any woodworking project. Use a tape measure and pencil to mark your wood pieces according to the design plan. Employ a circular saw or handsaw for precise cuts, ensuring clean edges that fit seamlessly during assembly.
Assembling The Base: A Strong Foundation
Begin with the base, as it provides stability for the entire structure. Use sturdy wood pieces and secure them tightly with screws or bolts. A strong foundation ensures your bench remains level and safe to use, even on uneven surfaces.
Attaching The Seat: Ensuring Comfort And Stability
The seat is where function meets comfort. Attach the pre-cut wood planks to the base, spacing them evenly to prevent sagging. Double-check the alignment and use clamps to hold the pieces in place while securing them with screws.
Adding The Backrest For Support
A backrest adds comfort and style to your bench. Choose a slight angle for ergonomic support, and securely attach the backrest planks to the base and seat. Sand any rough edges for a polished finish that’s inviting to lean against.
Designing Your Outdoor Bench Seating
Exploring Popular Bench Designs For Beginners
From sleek modern benches to rustic farmhouse styles, there are endless design options. Beginners might consider simpler designs, such as a straight wooden bench with clean lines. Those feeling adventurous can explore curved or slatted backrests for added character.
Sketching A Simple Layout For Your Bench
A detailed sketch acts as a blueprint, ensuring all parts come together seamlessly. Include dimensions and notes about materials in your drawing. Even a rudimentary sketch can make a world of difference when it comes to execution.
Measuring Your Space: Tips For Accuracy
Take careful measurements of the area where you plan to place your bench. Account for surrounding furniture, plants, and pathways to ensure the bench fits harmoniously. Use a measuring tape for precision and mark boundaries with chalk or string.
Materials And Tools Checklist
Essential Materials: Wood, Screws, And Stains
Invest in high-quality wood that is durable and weather-resistant. Choose screws and nails designed for outdoor use to prevent rusting. A wood stain or sealant will protect your bench from the elements while enhancing its natural beauty.
Must-Have Tools For Easy Bench Assembly
Basic tools like a drill, saw, measuring tape, and level are indispensable. For a more professional finish, consider using a miter saw for angled cuts or a power sander to smooth edges effortlessly.
Optional Add-Ons To Customize Your Bench
Add a personal touch with cushions, paint, or built-in storage. Decorative hardware, such as brass or black iron, can elevate the bench’s aesthetic while remaining functional.
Selecting The Right Wood For Durability
Types Of Wood Ideal For Outdoor Benches
Cedar, teak, and redwood are excellent choices for outdoor furniture due to their natural resistance to moisture and decay. Each type offers a unique grain and color, allowing you to select one that complements your outdoor décor.
Weatherproofing Your Wood For Longevity
Protect your bench from the elements by applying a weatherproof sealant or outdoor-grade paint. Regular maintenance, such as reapplying sealant annually, will significantly extend the life of your bench.
FAQs
Can I use reclaimed wood for my bench?
Ans: Yes, reclaimed wood can add character to your bench. Ensure it’s free of pests and treated for outdoor use.
How much time does it take to build an outdoor bench?
Ans: Depending on the design and your skill level, it can take anywhere from 4-8 hours, spread over a weekend.
Do I need advanced woodworking skills for this project?
Ans: Not at all. This guide is tailored for beginners, with simple steps to follow. Basic familiarity with tools is sufficient.
Conclusion
Creating your own outdoor bench seating is a rewarding project that enhances your outdoor space while showcasing your craftsmanship. By carefully choosing materials, following detailed steps, and adding your unique flair, you can build a bench that is both functional and aesthetically pleasing. With a little effort and creativity, you’ll have a piece of furniture that becomes a centerpiece of your backyard for years to come.
