
Outdoor lighting provides A number of benefits, From enhancing the aesthetic appeal of your home to improving safety And security. Like any other electrical system, Outdoor illumination can develop issues over time. Whether it’s A flickering light or an entirely dead fixture, Fixing exterior lighting requires some technical know-how And attention to detail. We’ll examine some typical issues that homeowners have with their external lighting systems in this post And offer detailed advice on how to troubleshoot And resolve them. From checking wiring connections to replacing bulbs And fixtures, You’ll learn everything you need to know about how to fix outdoor lighting And keep your property well-lit all year round. So let’s get started!
What Materials Need To Fix Outdoor Lighting
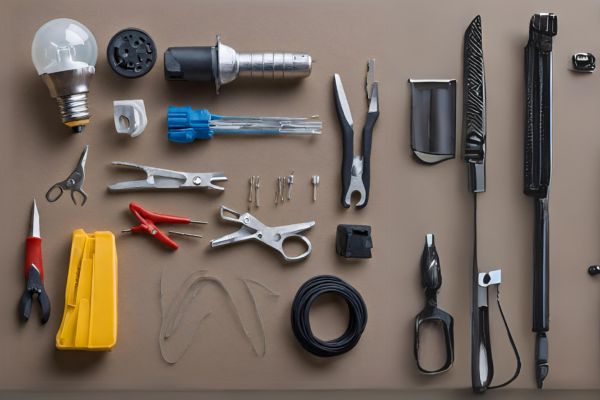
The specific materials needed to fix exterior lighting can vary depending on the nature of the problem And the type of lighting system you have. Here is A general list of materials that may require for outdoor illumination repairs:
- Replacement Bulbs
- Wire Connectors
- Electrical Tape
- Wire Strippers
- Screwdriver Set
- Voltage Tester
- Wire Cutters
- Replacement Fixture
- Insulation Materials
- Ladder Or Step Stool
- Safety Equipment
Here Are Some Steps To Fix Outdoor Lighting
Step 1: Identify The Problem
When faced with A malfunctioning outdoor illumination system, The first step is to identify the problem. Start by observing the entire lighting setup And pay close attention to any areas where the lights are not working or flickering. It is crucial to determine whether the issue lies with A single bulb or if there is A broader problem with the wiring. By carefully inspecting the lights, You can gain A better understanding of what needs to fix And proceed accordingly.
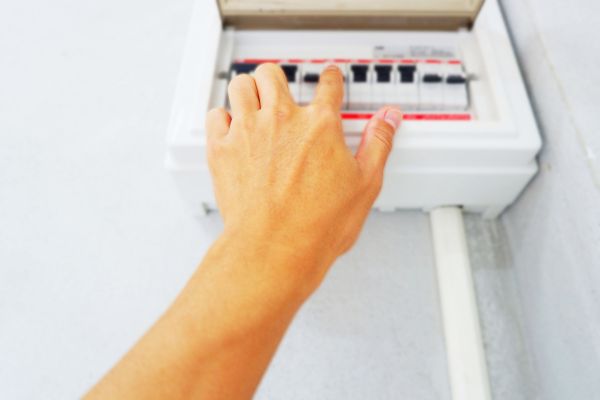
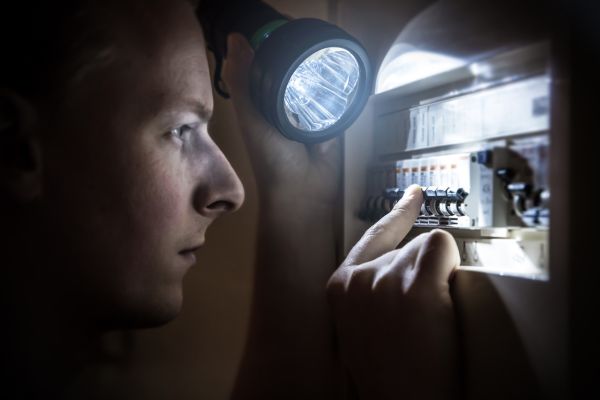
Step 2: Turn Off The Power
Before attempting any repairs or placing outdoor lighting, It is vital to turn off the power supply. Locate the main electrical panel for your exterior lighting system And switch off the circuit breaker connected to it. This precautionary measure ensures your safety while working with the electrical components. Working on live wires is dangerous And avoid it at all costs. Before moving on to the following step, Take the time to confirm that the power is shut off entirely.
Step 3: Replace The Bulb
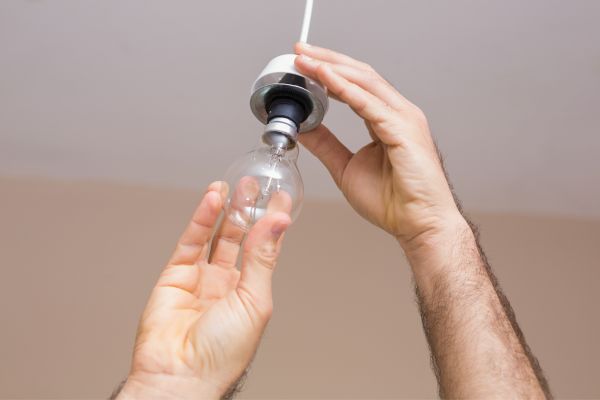
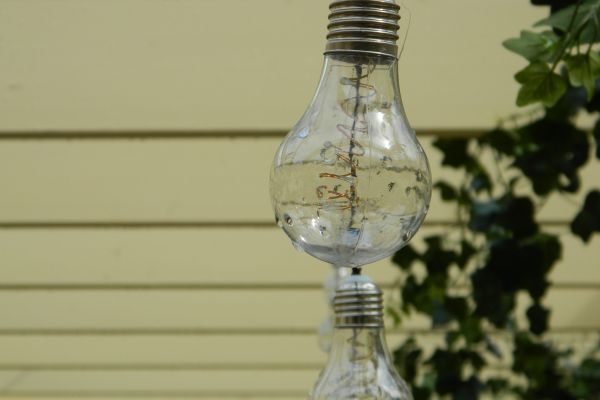
A malfunctioning outdoor light can attribute to A burnt-out bulb. Once you have identified the faulty light, Remove the old bulb carefully. If it is A standard incandescent or halogen bulb, You can simply unscrew it counterclockwise. For other types of bulbs, Such as LED or CFL, Refer to the manufacturer’s instructions for the appropriate removal method. Once the old bulb is removed, Replace it with A new one of the same wattage And type. Before proceeding to the following step, Make sure the bulb is firmly in position.
Step 4: Check The Wiring
Carefully examine the wires leading to the malfunctioning light, Paying attention to any visible damage or loose connections. If you notice any frayed or exposed wires, They will need to repair or replace. Check the connections at the light fixture And ensure they are secure. Loose connections can disrupt the electrical flow And cause problems with the lighting. Consult A professional electrician to assist with any complex wiring repairs.
Step 5: Test The Voltage
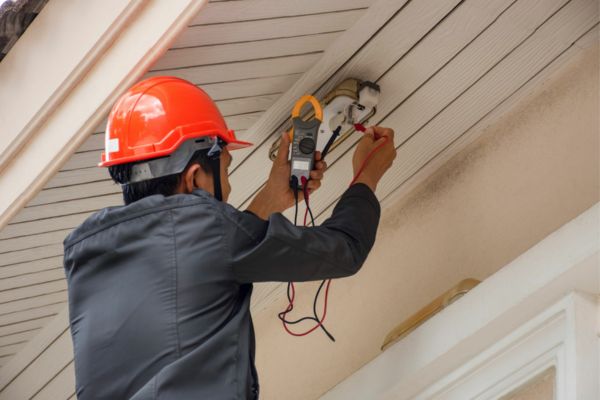
You will need A voltage tester for this step. Begin by turning the power back on at the main electrical panel, Then carefully test the voltage at the light fixture. There can be A problem with the power supply or the cabling connecting to the fixture if the voltage reading is much lower than the range that is advised for the particular kind of bulb. In such cases, It may be necessary to consult A professional electrician to diagnose And resolve the problem.
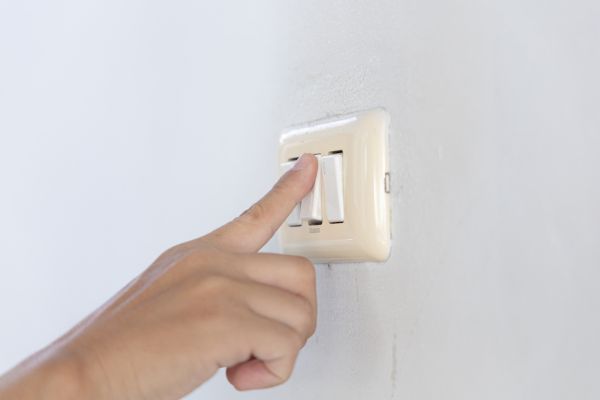
Step 6: Check The Switch
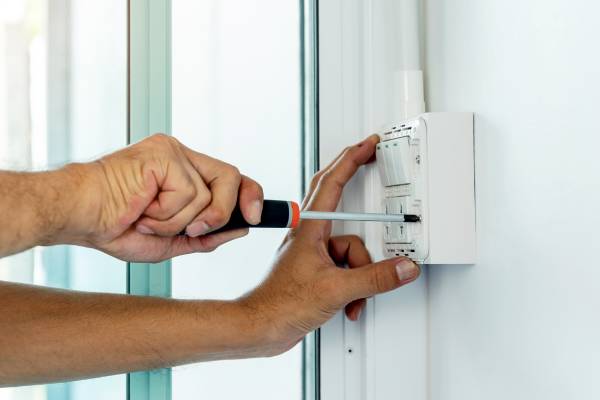
Locate the switch that controls the exterior lighting And turn it off. Remove the switch plate cover And inspect the wiring connections behind it. Ensure that all the wires are securely connected And there are no loose or damaged wires. If you notice any problems, Such as loose connections or damaged wires, They should repair or replaced. Once the switch is properly secured And the wiring is intact, Replace the switch plate cover.
Step 7: Test The Gfci Outlet
Another potential source of outdoor light problems is the ground fault circuit interrupter (GFCI) outlet. These outlets are designed to protect against electrical shocks And short circuits. Locate the GFCI outlet that supplies power to the exterior lighting And presses the “Test” button. The outlet should trip And cut off power. To restart the power, Press the “Reset” button. If the outlet does not trip or reset, It may faulty And need to replace. Faulty GFCI outlets can cause issues with exterior lighting, So it’s important to ensure they are functioning properly.
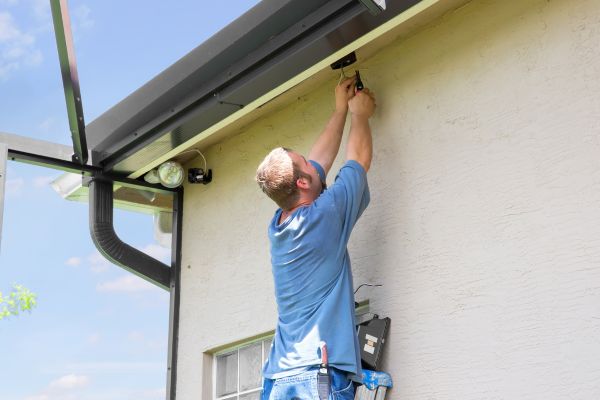
Step 8: Replace The Fixture
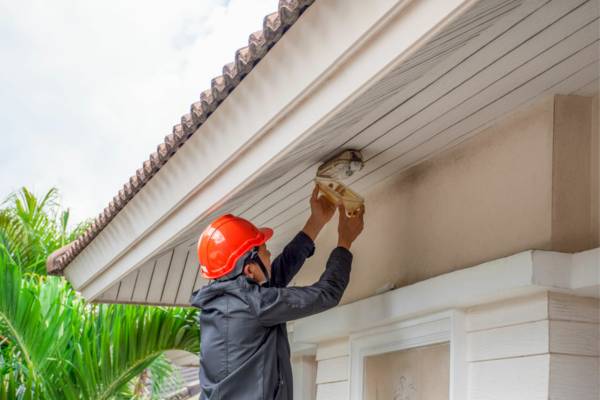
If all the previous steps have been followed And the outdoor illumination still does not work, It may be necessary to replace the entire fixture. Over time, Fixtures can deteriorate due to weather exposure or other factors. To replace the fixture, Turn off the power supply at the main electrical panel And disconnect the wiring from the old fixture. Install the new fixture according to the manufacturer’s instructions, Ensuring that all connections are secure. Once the new fixture is in place, Restore power And proceed to the final step.
Step 9: Restore Power And Test
With all repairs and replacements completed, It’s time to restore power to the outdoor illumination system. Return to the main electrical panel And switch on the circuit breaker connected to the exterior lighting. Head outside And test each light to ensure they are functioning properly. Check for consistent brightness, Proper illumination, And the absence of flickering. If any issues persist, It may be necessary to revisit the previous steps or seek professional assistance for further troubleshooting.
Conclusion
Outdoor lighting is an essential aspect of any property’s safety And aesthetics. Regular maintenance And troubleshooting steps can help fix outdoor lighting issues. If the problems persist, It might be best to call A professional electrician to avoid any potential hazards. Always prioritize safety when dealing with exterior lighting fixtures And follow the manufacturer’s instructions carefully. By taking care of your exterior lighting, You can ensure that your property remains beautiful And safe for everyone. Don’t let electrical issues ruin your property’s ambiance, Take action today!
Pingback: How Much Does It Cost To Install Outdoor Lighting