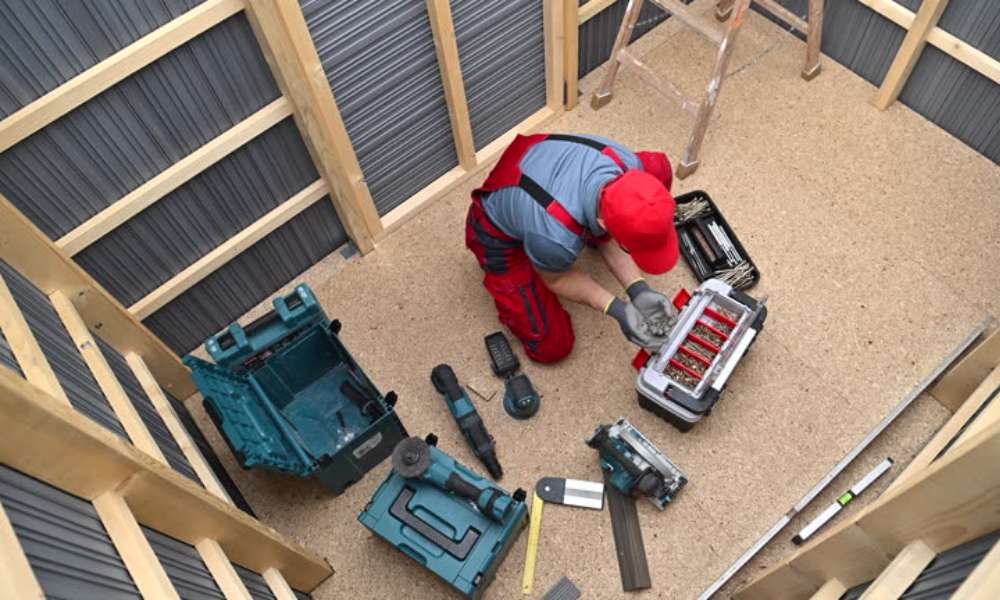
A garden shed can be the heart of your outdoor space, keeping tools organized and projects running smoothly. But an uneven shed That’s a recipe for frustration, wobbly floors, stuck doors, and even potential damage over time. Wondering how to level a garden shed and get it sitting perfectly on stable ground You’ve come to the right place! In this guide, we’ll walk you through simple, effective steps to ensure your shed is secure, functional, and built to last. Whether you’re starting fresh or fixing an existing hut, we’ve got the tips and tricks to make the process stress-free and successful. Let’s dive in.
Understanding The Terrain Flat Vs. Sloped Areas
The terrain significantly impacts how you level your garden shed. Flat areas offer convenience, requiring minimal preparation, but sloped ground demands careful consideration. On a slope, improper leveling can lead to structural instability or water pooling. Begin by evaluating the site with a spirit level to determine the extent of the slope. Tailor your approach accordingly graded foundations or adjustable supports are ideal for inclines, ensuring a stable and long-lasting base.
Methods For Leveling A Garden Shed
There are multiple methods to level a garden shed, each suited to specific scenarios. Using shims is an excellent choice for minor adjustments, while adjustable pier blocks work well on uneven or sloped terrain. Gravel pads offer great drainage and are easy to level, whereas concrete slabs provide unmatched stability for heavier structures. Selecting the right method ensures your hut remains secure and perfectly aligned for years.
Preparing The Ground For Leveling
Ground preparation is the first step in leveling a hut. Define the shed’s footprint and clear the area of debris and vegetation. Compact the soil to create a stable surface that supports the foundation. For uneven terrain, use a rake to smooth high spots or fill low areas. Proper preparation ensures the foundation rests evenly, preventing settling, tilting, or structural issues in the future.
Clearing The Area: Removing Debris And Vegetation
A clear foundation area is vital for a stable hut. Begin by removing rocks, roots, and vegetation that can compromise the ground’s integrity. Use a garden hoe or shovel to scrape away any organic matter. Ensure the cleared space extends beyond the shed’s perimeter to accommodate foundation materials. Clearing the site thoroughly reduces the risk of future instability caused by decomposing vegetation or soil displacement.
Testing The Soil: Is It Suitable For A Shed Foundation?
Soil quality plays a pivotal role in shed stability. Test the soil by driving a spade into it; firm, compact soil is ideal. Sandy or loose soil requires reinforcement, often with gravel or geotextile fabric, to prevent shifting. For clay-rich soil, implement drainage solutions to avoid waterlogging. Proper soil assessment ensures the foundation remains secure, eliminating risks of uneven settling or structural compromise over time.
Proper Drainage: Keeping Water Away From The Shed Base
Drainage is essential for a long-lasting shed foundation. Poor drainage leads to water pooling, which can cause wood rot or weaken concrete. Install a gravel layer under the hut to allow water to pass through and flow away. Alternatively, use drainage pipes or trenches to channel excess water. Positioning the hut slightly above surrounding ground further prevents moisture accumulation, safeguarding your hut from damage.
Level Your Shed With Shims
Shims are an effective solution for fine-tuning your shed’s level. Made from durable materials like composite or plastic, shims correct minor imbalances by raising low corners. Position the shims under the shed’s skids or beams, ensuring even weight distribution. Secure them in place to prevent shifting. Shims are particularly useful for lightweight huts on uneven terrain, providing a quick, cost-effective leveling method.
Building a Proper Foundation
A sturdy foundation is essential for a stable garden shed. Options include timber frames for lightweight structures, gravel pads for drainage and adaptability, and concrete slabs for heavy-duty durability. Each foundation type must be precisely leveled to prevent long-term structural problems. Invest time in aligning the foundation, as even small misalignments can lead to significant issues over time, ensuring your hut remains a dependable storage space.
Preventing Future Leveling Problems
Future leveling problems can be avoided with proactive measures. Conduct annual inspections to detect settling or tilting early. Address drainage issues promptly to prevent water from destabilizing the ground. Regularly compact soil or add gravel around the base to maintain stability. These preventative steps minimize the risk of costly repairs, ensuring your hut remains level, functional, and secure for years to come.
FAQs
How do I know if my shed is level?
Ans: Use a spirit level on the floor and along the hut walls. If the bubble stays centered, your hut is level.
Can I level a hut on my own?
Ans: Yes, but it depends on the shed’s size and the complexity of the terrain. For large or heavily sloped areas, professional help is advisable.
What happens if I don’t level my shed?
Ans: An unlevel hut can lead to structural damage, water pooling, and difficulty opening doors or windows.
Conclusion
Leveling a garden shed may additionally appear like a frightening venture, however with the proper gear and strategies, it will become manageable and rewarding. By experiencing your terrain, choosing the proper leveling method, and building a strong foundation, you make certain your hut stands take a look at time. Regular protection and right drainage will similarly guard your funding, permitting you to revel in a robust and practical lawn hut for years yet to come.
