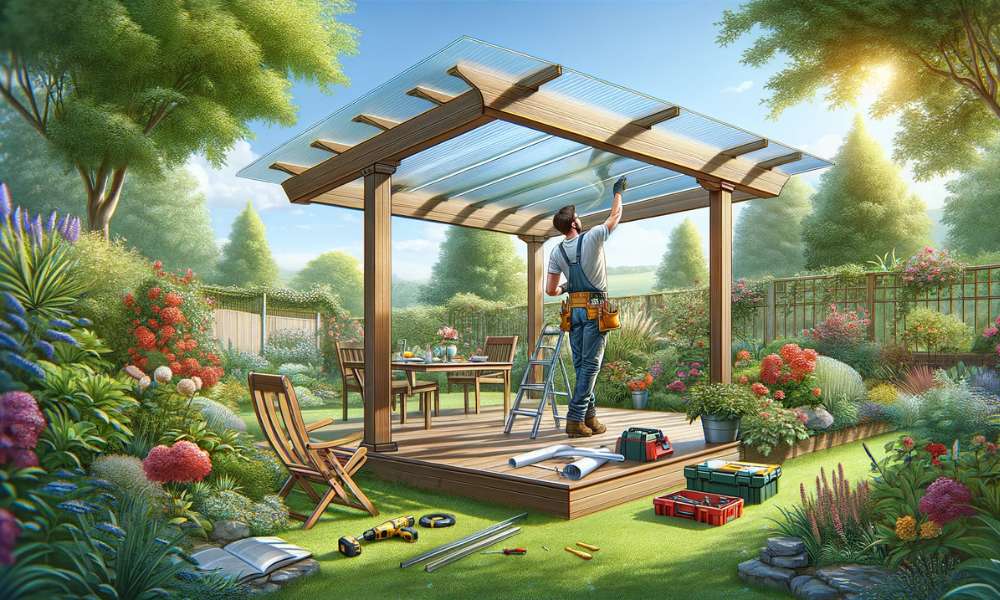
Discover the ultimate guide on how to put a polycarbonate roof on a pergola and elevate your outdoor living space to new heights. Installing a polycarbonate roof offers a multitude of benefits, from shielding against harsh UV rays to providing protection from unpredictable weather conditions. This comprehensive DIY project not only enhances the aesthetic appeal of your pergola but also adds functionality and durability to your outdoor retreat. Learn the essential steps, tips, and tricks to successfully undertake this project, and transform your arbor into a stylish and weather-resistant sanctuary that you can enjoy year-round.
How Do I Measure And Cut The Polycarbonate Panels For My Pergola Roof?
To measure and cut polycarbonate panels for your pergola roof, start by measuring the dimensions of the area you need to cover with the panels. Use a measuring tape to accurately determine the length and width of each panel needed. Make sure to account for any overlaps or gaps between panels.
Can I Install A Polycarbonate Roof On An Existing Pergola?
Yes, you can install a polycarbonate roof on an existing pergola. Polycarbonate roofs are lightweight, durable, and provide protection from the elements while still allowing natural light to filter through. Before starting the installation process, make sure that your existing arbor is structurally sound and capable of supporting the weight of the carbonate panels.
Do I Need Any Special Tools To Install A Polycarbonate Roof On My Pergola?
Yes, you may need some special tools to install a polycarbonate roof on your pergola. Some of the essential tools include a drill with screwdriver bits, a tape measure, a level, a saw for cutting the carbonate sheets to size, and roofing screws or clips designed specifically for carbonate installation. Additionally, having a ladder or scaffolding may be necessary to safely reach and work on the roof of your pergola.
Understanding Polycarbonate Roofing
Polycarbonate roofing represents a paradigm shift in the realm of outdoor design, offering a myriad of benefits over traditional roofing materials. Its lightweight yet durable composition makes it ideal for pergolas, providing ample protection against UV rays, harsh weather conditions, and even hailstorms. Moreover, its translucent nature allows for optimal light transmission, creating a luminous ambiance while still offering shelter from the elements.
Step-By-Step Guide: Installing Your Polycarbonate Roof
1: Preparing Your Pergola
Before embarking on the installation process, it is imperative to ensure that your pergola is structurally sound and adequately prepared for the addition of a carbonate roof. This involves inspecting the integrity of the existing framework, reinforcing any weak points, and ensuring proper anchoring to the ground or adjacent structures.
2: Measuring And Cutting The Polycarbonate Panels
Accurate measurements are crucial for a seamless installation process. Begin by measuring the dimensions of your pergola roof precisely, taking into account any overhang or desired drainage slope. Once measurements are finalized, proceed to cut the polycarbonate panels to size using a fine-toothed saw or specialized cutting tool, ensuring clean and precise edges.
3: Installing The Panels
Installing the panels on your pergola can truly transform the look and feel of your outdoor space. To successfully put a roof on a pergola, start by measuring and cutting the panels to ensure they fit perfectly. Consider using clear or translucent panels to allow natural light to penetrate while still providing protection from the elements. Secure the panels onto the frame using appropriate screws and make sure they are evenly spaced for a polished finish.
4: Sealing And Finishing Touches
To ensure optimal weather resistance and longevity, it is essential to seal any gaps or joints between carbonate panels using weatherproof sealant. Additionally, consider adding carbonate end caps to provide a clean and polished finish while further enhancing weather protection. Finally, conduct a thorough inspection to ensure all components are securely in place, making any necessary adjustments as needed.
Benefits Of Polycarbonate Roofing For Your Pergola
1. Durability And Longevity
Unlike traditional roofing materials, polycarbonate offers unparalleled durability and longevity, capable of withstanding extreme temperatures, high winds, and even impact from falling debris. Its inherent resistance to yellowing and discoloration ensures your arbor maintains its aesthetic appeal for years to come.
2. Versatility And Design Flexibility
With a wide range of colors, thicknesses, and textures available, carbonate roofing offers unmatched versatility and design flexibility, allowing you to customize your pergola to suit your unique style and preferences. Whether you prefer a sleek, modern aesthetic or a more rustic charm, carbonate can effortlessly adapt to your vision.
3. Energy Efficiency And Comfort
The translucent nature of polycarbonate roofing not only allows for abundant natural light but also helps regulate temperature, reducing the need for artificial lighting and ventilation. This translates to significant energy savings while creating a comfortable and inviting outdoor space for year-round enjoyment.
The Final Thought
Adding a polycarbonate roof to your pergola is a practical and stylish way to enhance your outdoor living space. By following the step-by-step guide provided in this article, you can successfully install a durable and weather-resistant roof that will provide shade and protection for years to come. The versatility of polycarbonate material ensures that your pergola remains both functional and visually appealing. With proper maintenance and care, your carbonate roof will withstand the elements and continue to be a valuable addition to your home. Take the next step in transforming your outdoor space by considering a carbonate roof for your pergola today!