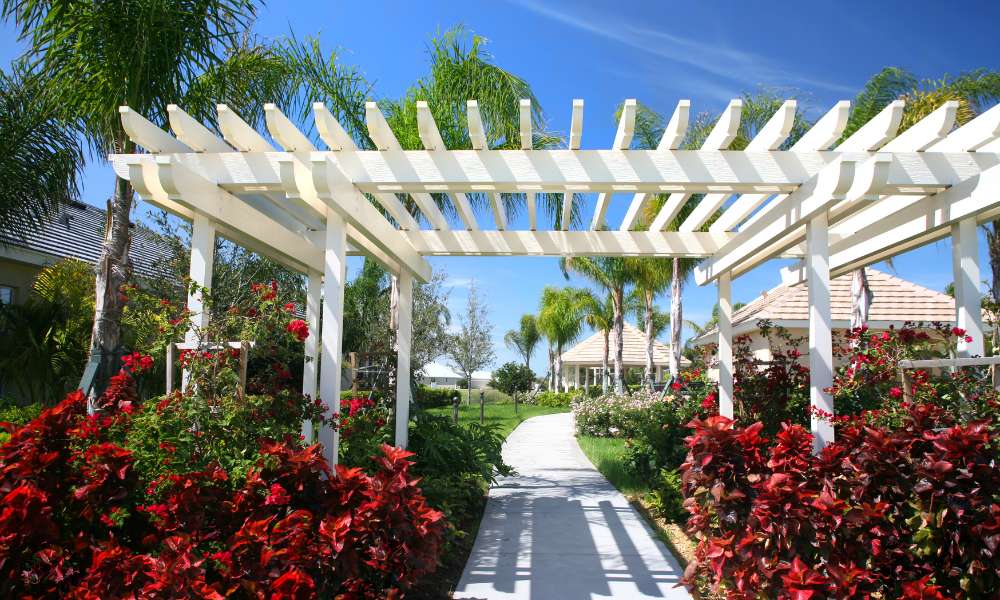
Enhance your outdoor oasis with a simple yet transformative process: learning how to restain outdoor pergola. Restaining your outdoor pergola not only revitalizes its appearance but also shields it from weathering, prolonging its structural integrity. This comprehensive guide will walk you through the steps, highlighting the importance of regular maintenance and the benefits it brings to your outdoor living space. With the right approach and materials, anyone can tackle this rewarding project, creating a stunning focal point for relaxation and entertainment in their backyard retreat.
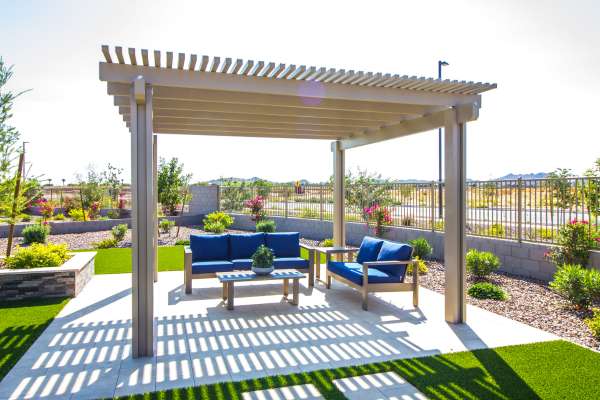
What Type Of Stain Is Best For An Outdoor Pergola?
For softwoods like pine or fir, a more opaque or solid stain may be preferable to provide better protection against weathering and decay. These types of stains create a thicker film on the surface of the wood, offering greater resistance to moisture and UV damage. Ultimately, the best type of stain for your outdoor pergola will depend on your personal preference for appearance and level of maintenance required.
How Often Should I Restain My Outdoor Pergola?
Restaining your outdoor pergola is essential to maintain its appearance and protect it from the elements. The frequency of restaining will depend on various factors such as the type of wood, climate conditions, and level of exposure to sunlight. As a general guideline, it is recommended to restain your pergola every 2-3 years to keep it looking fresh and well-maintained.
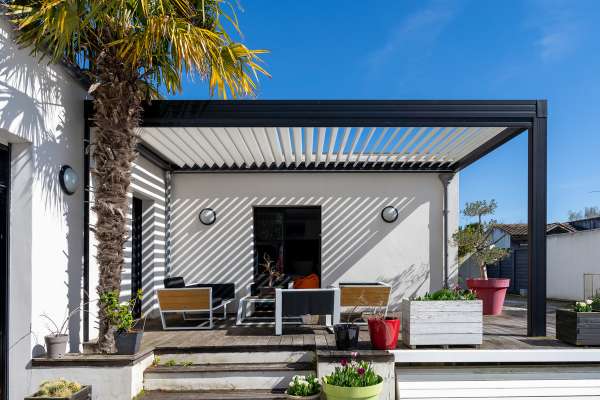
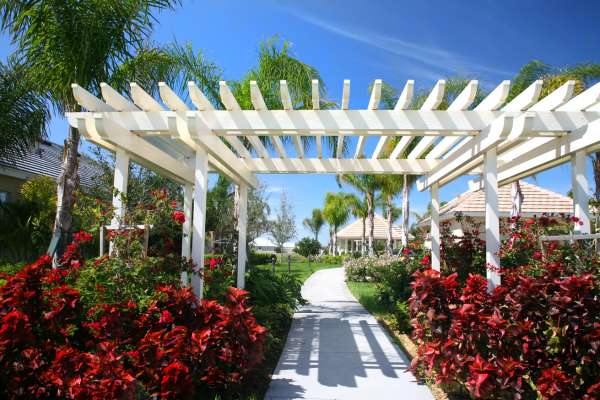
Can I Change The Color Of My Outdoor Pergola When Restaining It?
Yes, you can change the color of your outdoor pergola when restaining it. Restaining a pergola involves stripping off the existing stain and then applying a new one in the desired color. Make sure to choose a stain that is suitable for outdoor use and provides protection against weather elements such as UV rays and moisture.
Focus On Edges And Corners
By paying close attention to edges and corners, you’ll not only enhance the overall appearance of your pergola but also increase its durability. Think of these areas as crucial touchpoints that require precision and care in order to achieve a professional-looking finish. Don’t rush through this step – take your time to ensure every nook and cranny is properly coated with stain for maximum protection against sun, rain, and other outdoor elements.
Wipe Down The Pergola With A Clean Cloth
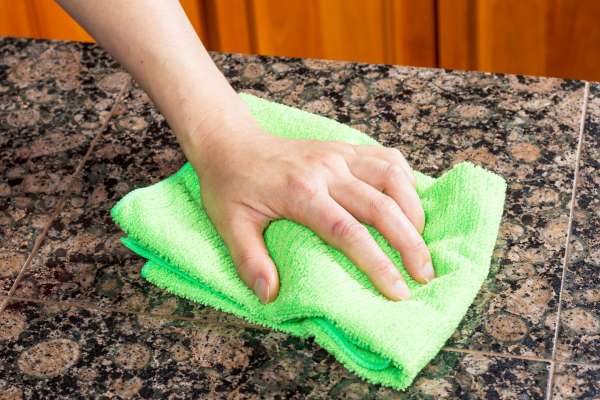
Before beginning the restaining process, it’s important to prepare the surface properly. Start by wiping down the entire arbor with a clean cloth to remove any dirt, dust, or debris that may have accumulated. This step is crucial for ensuring that the stain adheres evenly to the wood surface, preventing patchy or blotchy results. Pay special attention to hard-to-reach areas, such as crevices and intricate designs, as these areas tend to collect more grime and may require extra cleaning.
Avoid Use Until Completely Dry
Applying stain to damp or wet wood can result in poor adhesion, blotchy finish, and even mold growth in extreme cases. By patiently waiting for the pergola to dry completely, you are ensuring that the stain will penetrate evenly into the wood surface, enhancing its durability and appearance. Remember, a little extra time spent on prep work can save you from having to redo the staining process later on. In conclusion, patience is key when it comes to restaining an outside arbor– resist the temptation to rush and allow nature to take its course before proceeding with your project.
Ensure All Sanding Residue Is Removed
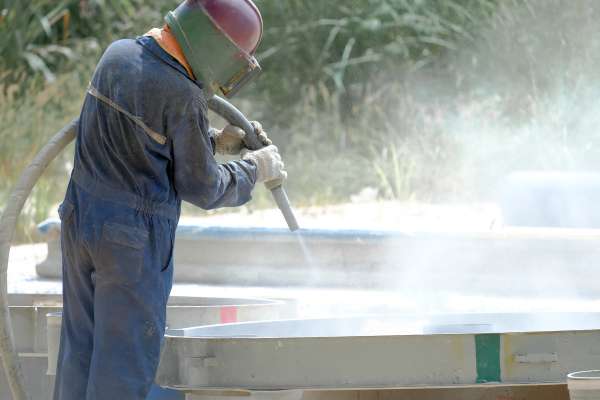
Ensuring all sanding residue is thoroughly removed is essential when building a pergola on a deck. Leftover dust and debris can interfere with the adhesion of any sealants or paint you plan to apply, leading to an uneven finish and potentially compromising the longevity of your project. To prevent this, use a vacuum cleaner or tack cloth to carefully remove all traces of sanding residue before proceeding with any additional steps.
Avoid Shaking To Prevent Bubbles
Avoid shaking the stain to prevent bubbles from forming, which can result in an uneven application and a less-than-desirable finish. Instead, gently stir the stain with a stir stick or paint mixer to ensure it is thoroughly mixed without introducing air bubbles. Shaking the stain vigorously can cause air to become trapped in the liquid, leading to bubbles that may transfer onto the surface of the arbor during application. By stirring the stain gently, you can achieve a smooth and consistent consistency that is ideal for restaining your outdoor pergola.
Use A Brush For Even Application
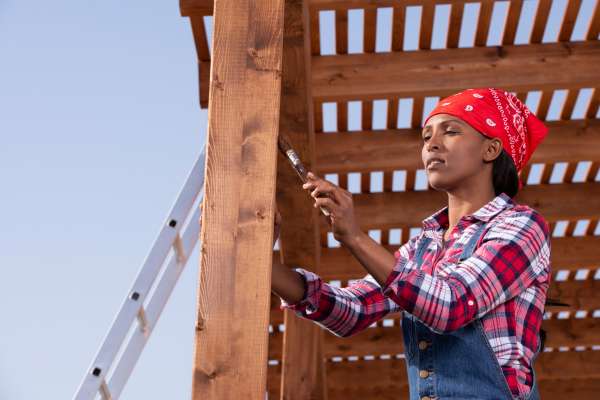
Use a brush rather than a roller or sprayer. A brush allows you to control the amount of stain applied and ensures that it penetrates the wood evenly, resulting in a uniform finish. When selecting a brush, choose one with natural bristles that are suitable for use with oil-based stains. Dip the brush into the stain and apply it to the surface of the pergola using long, even strokes, working in the direction of the wood grain. Take care to cover the entire surface of the pergola, including edges and corners, to achieve a consistent color and finish.
Check For Drips Or Pooling

Pooling can lead to uneven coloration and may require additional sanding and restaining to correct. By taking the time to check for drips or pooling during the staining process, you can achieve a more professional-looking finish that will enhance the beauty and longevity of your outdoor pergola. Remember, attention to detail in every step of the restaining process is key to achieving stunning results that will withstand the test of time.
Drying And Curing Process
1. Allowing Sufficient Drying Time
Allowing sufficient drying time is critical to the success of your restaining project. After applying the stain, it’s important to wait for it to dry completely before using the pergola or exposing it to moisture. This typically takes anywhere from a few hours to a full day, depending on factors such as the type of stain used, temperature, and humidity levels. Rushing this step can result in a tacky finish or uneven coloration, compromising the overall appearance of your pergola.
2. Protecting Against Weather Conditions
Protecting against weather conditions is another key consideration during the drying and curing process. Exposure to rain, wind, or extreme temperatures can interfere with the drying process and affect the quality of the finish. To prevent damage to the freshly stained surface, it’s advisable to cover the pergola or provide temporary shelter until the stain has fully cured. This may involve using tarps, awnings, or other protective measures to shield the pergola from the elements.
Ensure Wood Is Healthy
Ensuring the health of wood is essential for maintaining the longevity and beauty of your outdoor pergola. One key aspect to consider is regular inspection and maintenance to prevent rot, decay, and insect infestations. Applying a high-quality stain or sealant not only enhances the aesthetics but also provides protection against weather elements.
The Final Thought
Restaining your outdoor pergola is a rewarding and relatively simple project that can enhance the overall look and longevity of your outdoor space. By following the steps outlined in this article, you can achieve professional results with minimal effort. Remember to choose a high-quality stain that suits your aesthetic preferences and climate conditions, and take your time to properly prepare the surface before applying the new finish. Regular maintenance and occasional restaining will help protect your pergola from the elements and keep it looking great for years to come. Don’t hesitate to start this rejuvenating process today and enjoy a refreshed outdoor living area!